OFFICE OF ACADEMIC ENGAGEMENT
Employee Resource Guide
Commons Printing
ERG 850.01
You must follow these instructions before printing for the first time on every computer individually. Once you go through these instructions, your settings will be saved and you can print as normal.
——————————————————————————————————————
- Make sure your device you are wanting to print from is fully updated
- Go to https://onyxweb.mykonicaminolta.com/OneStopProductSupport?appMode=public&productId=1977&categoryId=1&subCategoryId=ft0
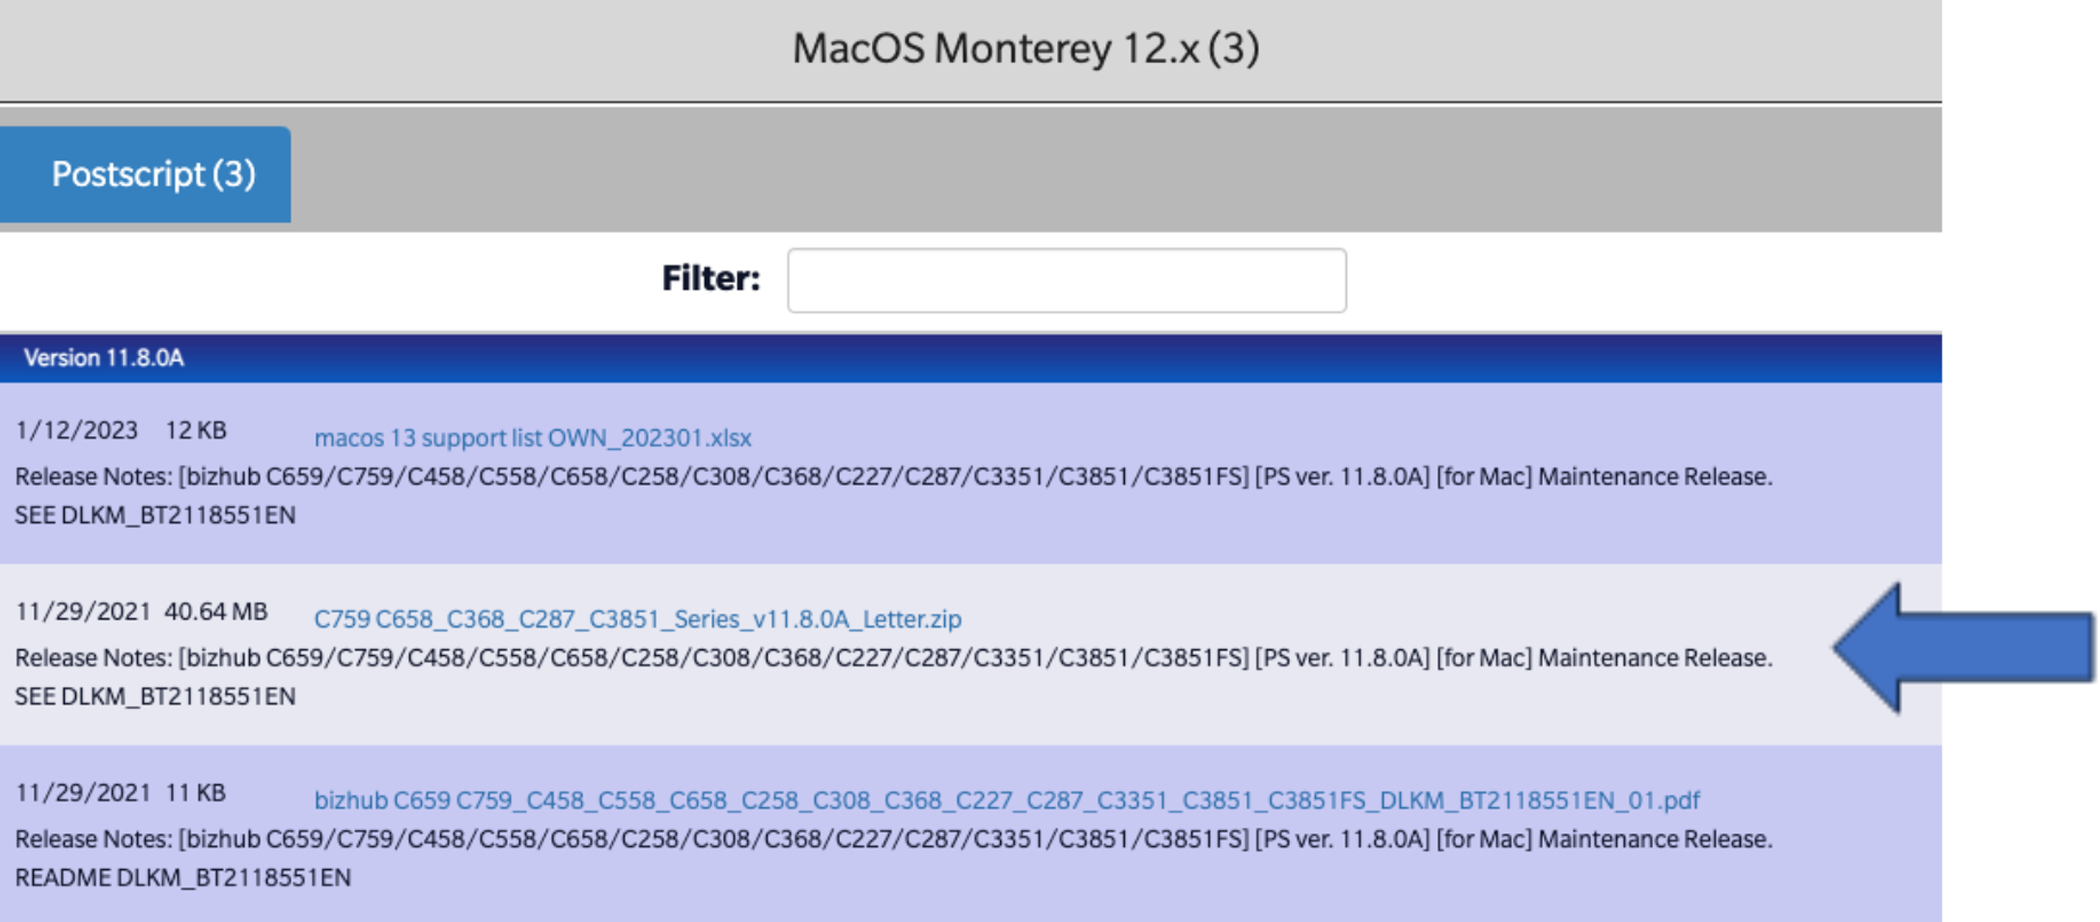
- Look for your computer’s device title/model, choose the Letter.zip file to download (this is the drive required for printing)
- EXAMPLE: a Monterey Mac Laptop
- Once your device is updated and the drive is downloaded/installed
- Go to settings
- Click Printers & Scanners
- Click Add Printer, Scanner, or Fax…
- Add “daesaprint.ad.wsu.edu” as a printer
- Open a document you want to print
- Click Command P
- Choose the printer listed in Step 3d
- Scroll down in the printer menu and choose “Printer Option”
- Choose “Output Method” by clicking the ⓘ
- Check the “Account Tracker” Box
- Enter your departments name (i.e., F&A) and their 4-digit passcode (see below), then save the option
| FA | 0001 |
| Invest | 0002 |
| Teacher Prep | 0003 |
| Cougs Rise | 0004 |
| Passport | 0005 |
| STEM | 0006 |
| Veterans | 0007 |
| DTD | 0008 |
- Click OK
- Go to the Presets option on the main print page
- Click on the department you chose
- Print!